iPhone Screen Replacement: Budget Friendly and Quick Screen Fixes
iPhone Screen Replacement: Budget Friendly and Quick Screen Fixes
Blog Article
A Comprehensive Guide to Do It Yourself Iphone Display Repair for Beginners
In an age where technology is important, the capacity to conduct small fixings on individual gadgets, such as changing an apple iphone display, can be both empowering and economical. Our overview is tailored for those who might be brand-new to the world of DIY repair work, providing an organized technique that demystifies the procedure - iphone screen replacement. From selecting the proper devices to comprehending the ins and outs of the repair actions, this overview ensures that you are well-prepared to take on the job. Nevertheless, one have to know the potential mistakes that can occur during such ventures, as these can influence the outcome dramatically.
Crucial Tools and Materials
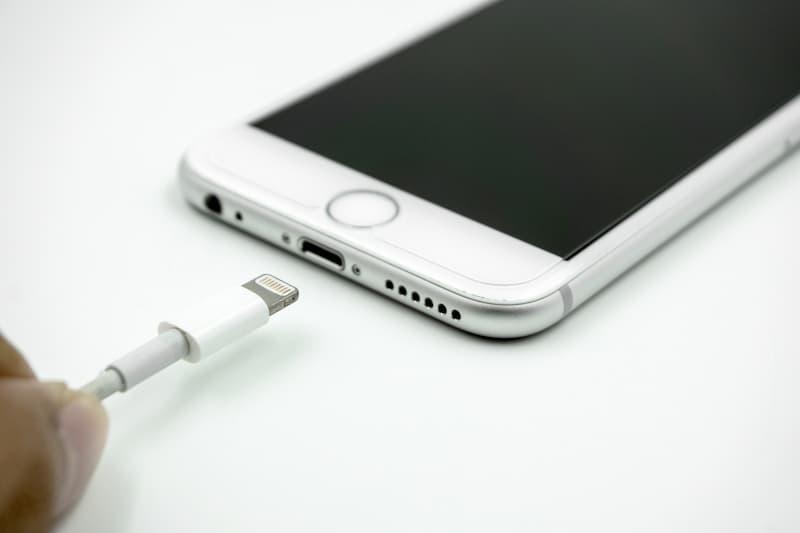
Embarking on an iPhone screen repair needs a well-curated selection of devices and products to make certain success. A suction mug and plastic spudgers are vital for securely raising the display without creating damage to the fragile inner components.
Tweezers can aid in dealing with little ports and elements, while an opening pick will facilitate the cautious splitting up of the screen from the phone's structure (iphone screen replacement). A magnetic floor covering or tray is additionally valuable for arranging screws and tiny parts, reducing the risk of shedding them throughout repair
In regards to products, a substitute screen of great quality is vital, guaranteeing compatibility with the details iPhone model. Glue strips are required for rebuilding the gadget, providing a safe and secure fit for the new display. Furthermore, using a microfiber cloth and isopropyl alcohol will aid clean surface areas and make sure a beautiful finish. Having these tools and materials on hand will significantly improve the efficiency and success of your fixing endeavor.
Preparing Your Work Area
Creating an organized and efficient work space is an essential action in making sure a successful iPhone screen repair service. Appropriate preparation can significantly enhance emphasis and decrease the threat of mistakes throughout the process. Begin by selecting a clean, well-lit location to function in. Appropriate illumination is vital to clearly see the intricate elements of the iPhone and can prevent unintentional mishandling. A large table or workdesk is suggested to spread out tools and parts without mess, enabling very easy gain access to as required.
Before commencing the fixing, make sure that all essential tools, such as screwdrivers, suction mugs, and tweezers, are available. It's suggested to use a non-static floor covering or a microfiber cloth to lay the phone on, which aids stop static damages and scrapes. In addition, arranging tiny parts in classified containers or a magnetic floor covering can keep them secure and prevent loss.

Step-by-Step Repair Work Refine
Carrying out the step-by-step repair process for an iPhone screen calls for accuracy and care at every phase. All at once, put a plastic opening device to meticulously divide the screen from the body, taking care not to damage any kind of adapters.
Following, eliminate the screws protecting the metal bracket that guards the screen wires. Once the bracket is lifted, detach the booster cable to get rid of any threat of a brief circuit. Following this, detach the screen cords attaching the display to the motherboard. This action is vital, as messing up these cords can create irreversible damages.
Proceed by getting rid of any type of added parts from the old screen, such as the front video camera and home button, and transfer them to the brand-new display. Once these remain in location, reconnect the screen cords and reattach the steel brace. Very carefully press the brand-new display right into the structure, making sure all sides are aligned. Ultimately, secure the screws and power on the tool to evaluate performance.
Usual Blunders to Avoid
Repairing an apple iphone screen can check out this site be a rewarding job, however several usual blunders can lead to complications otherwise dealt with. One widespread mistake is neglecting to power off the tool completely prior to beginning repair work. This oversight can cause electric shorts and even permanent damage to the phone's interior parts. Additionally, several novices fall short to organize screws systematically. iPhone models contain different screws of different sizes and sizes, and blending them up can cause threading issues or damages to interior parts.
When eliminating or mounting elements,One more frequent error is using extreme force. apple iphone internals are delicate, and too much pressure can damage adapters or circuit card. Together with this, utilizing inappropriate devices, such as a common screwdriver rather of a precision screwdriver, can remove screws or damages sensitive components.
In addition, missing the important step of disconnecting the battery before continuing with repair services can boost the danger of short-circuiting. Last but not least, failing to make certain a dust-free atmosphere throughout reassembly might cause dust particles obtaining trapped between the screen and the screen, decreasing display quality.
Testing and Last Touches
Often, the last steps of an iPhone screen repair service are as important as the preliminary ones, needing careful interest to information. Making sure that the repair has succeeded involves a mindful evaluation and testing of the gadget's performance. Begin by powering on the apple iphone to validate that the display illuminates correctly and shows the home screen without distortion or dead pixels. It's vital to check the touch level of sensitivity by navigating through different applications and functions, guaranteeing that all locations of the screen respond accurately to touch inputs.
Following, check the closeness sensing unit and ambient light sensing unit by making a telephone call and covering the leading part of the screen to see if it dims properly. This can verify that both sensing units were reconnected correctly. Moreover, analyze the front-facing electronic camera and speaker to ensure they were not unintentionally obstructed or damaged throughout reassembly.
Conclusion
In an age where technology is important, the ability to conduct small fixings on personal devices, such as changing an iPhone screen, can be both empowering and economical.Beginning on an apple iphone screen repair requires a well-curated option of products and devices to make certain success.Creating an arranged and reliable office is an important step in her explanation guaranteeing an effective iPhone screen repair service.Proceed by removing any extra parts from the old screen, he said such as the front electronic camera and home button, and transfer them to the new display. Begin by powering on the iPhone to verify that the screen illuminates appropriately and shows the home display without distortion or dead pixels.
Report this page